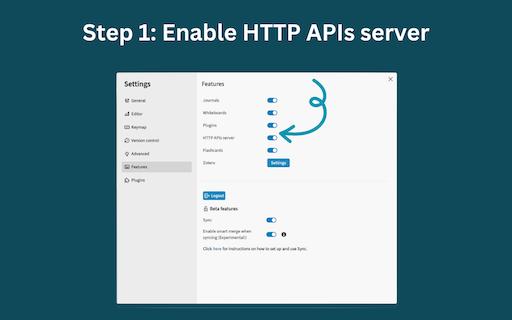
Step 1: Logseq API Server Configuration
-
Enable Logseq HTTP API Server
-
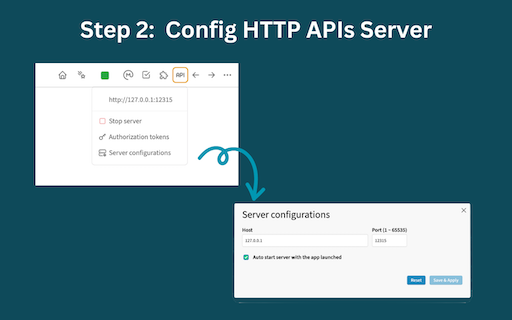
Configure API Server Address and Port
-
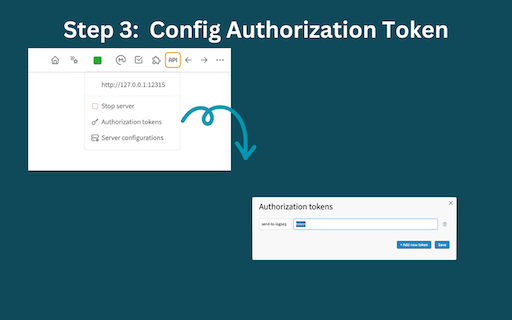
Configure API Authorization Token
-
Restart Logseq API Server to activate the changes above
Step 2: Extension Configuration
-
Access Extension Options:
Right-click on the extension icon and navigate to the “Options” page.
-
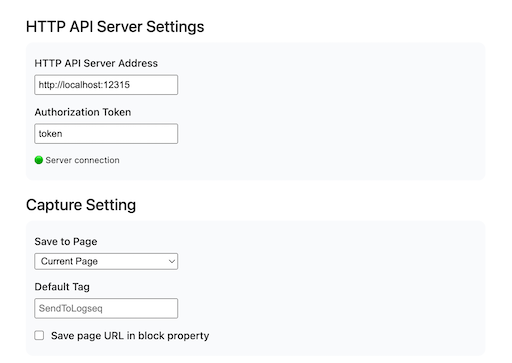
Set Up Logseq API Server Details:
Within the extension’s options, provide the Logseq API server address, token, and capture settings.
-
Verify Connection
A green light will indicate successful connection between the Logseq HTTP API server and the extension.
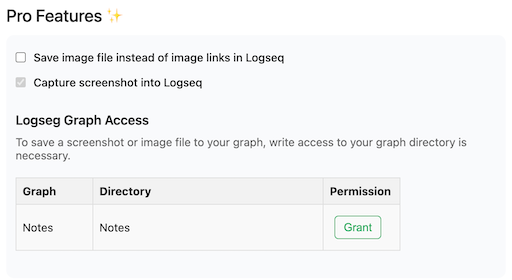
Step 3: Enable Pro Features (Optional)
-
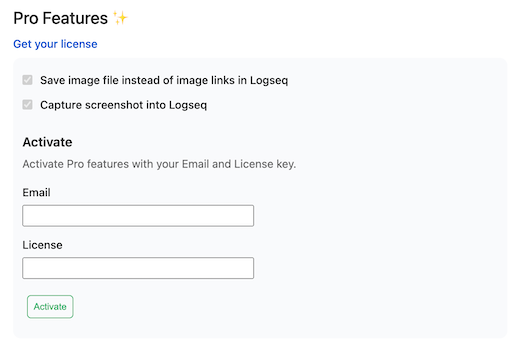
Pro License Acquisition:
Right-click on the extension icon and navigate to the “Options” page. Click Get your license link to get your pro license.
-
Activate Pro Features
You will receive an email containing your purchase confirmation and license key. Activate pro features using your email and license key.
-
Grant Access to Your Graph Directory
To save image files & screenshots into Logseq, the extension needs access to your graph directory. Click the GRANT button, and select your graph root directory.